In this tutorial, we are going to show you how the Auto Ripple feature can help you arrange all media assets you add to the timeline quickly and efficiently.
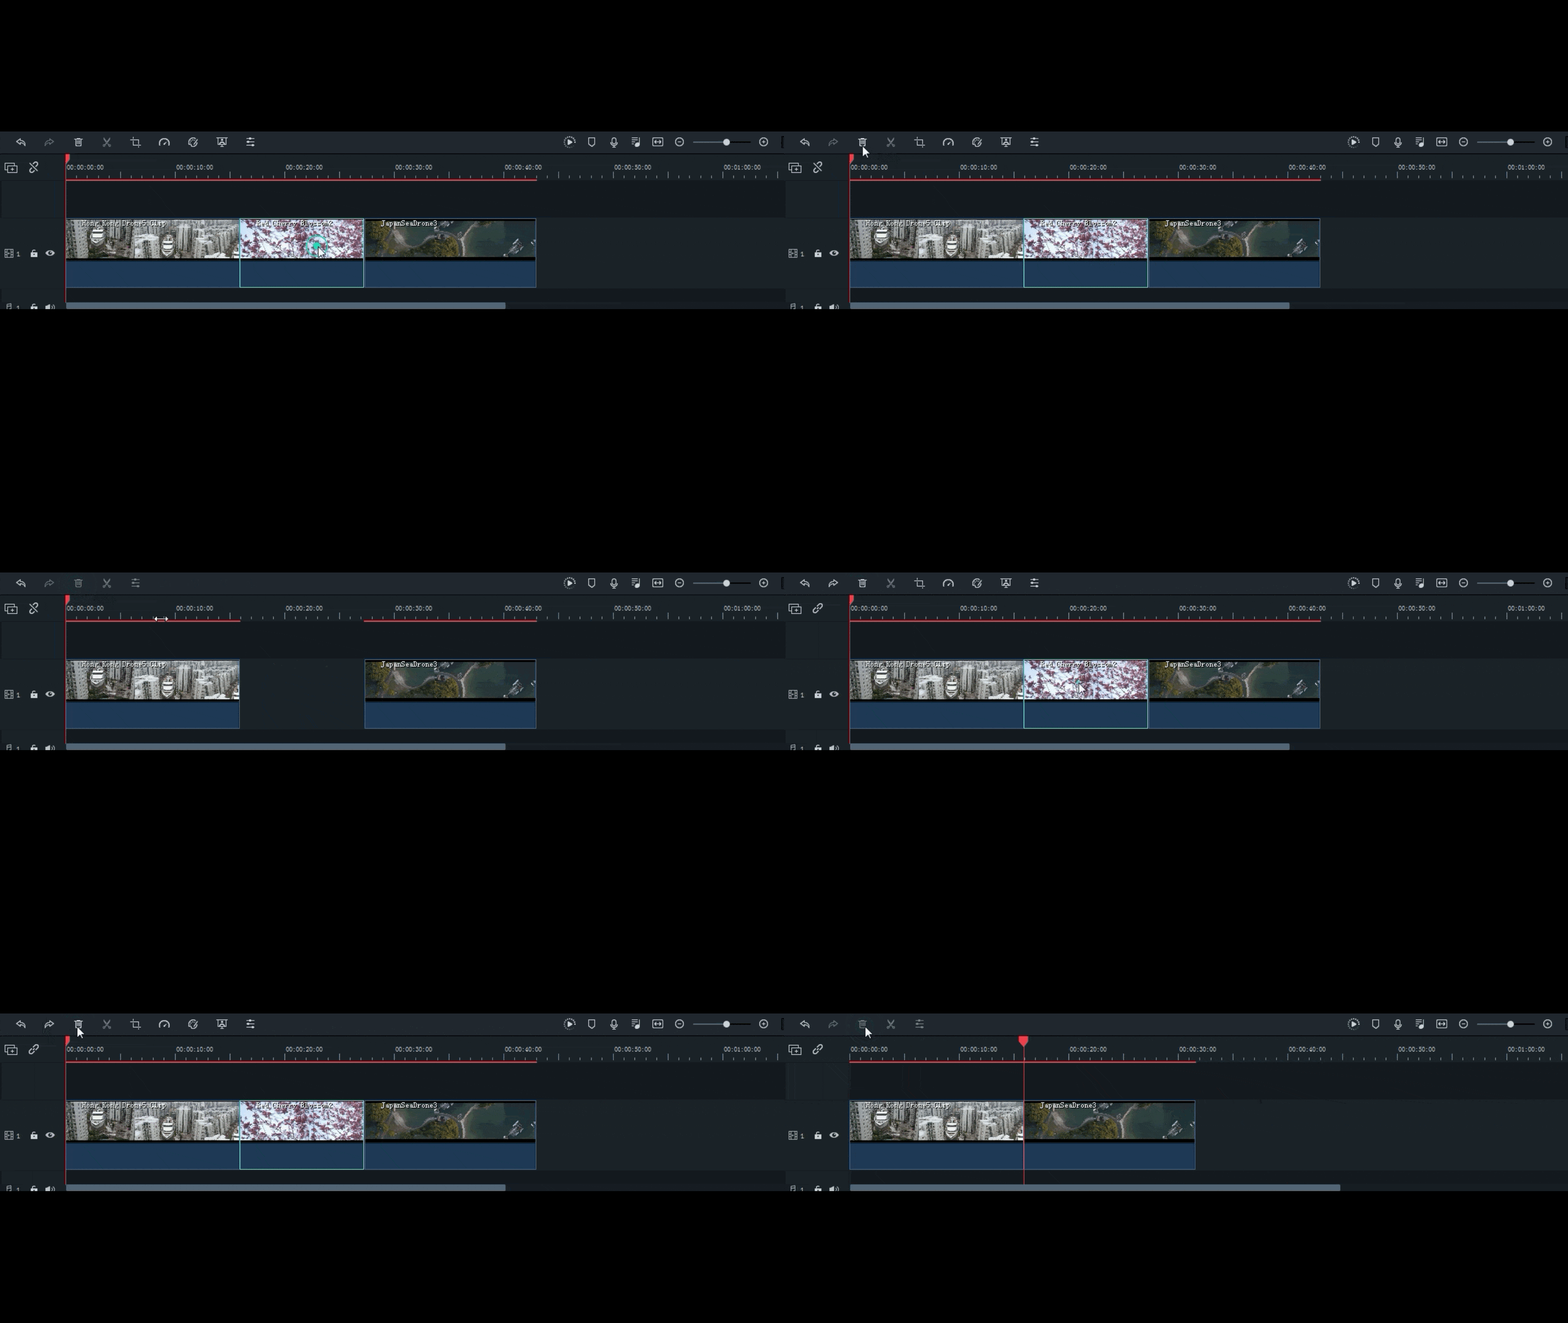
Remove gaps between clips on the timeline with Auto Ripple ON
All versions of Filmora9 provide the Ripple Delete feature that automatically snaps together two video clips that are the nearest to each other. The option is still available on Filmora9.2, and you can access it by right-clicking on a video clip you want to delete and choosing Ripple Delete from the menu.
The Auto Ripple feature automatically removes gaps created by removal of the piece of footage from the timeline. The Auto Ripple option is enabled by default, but you can toggle it off and on by clicking on its icon that is located next to the Manage Tracks icon in the upper left corner of the timeline.

After you cut a portion of a video clip and delete it from the timeline, Filmora9 will automatically remove the gap between the two remaining clips if the Auto Ripple option is enabled. You can perform the same task using the Ripple Delete option, but this can be a time-consuming endeavor if you are working with a large number of video and audio files.
Auto Ripple reduces the amount of time you have to spend on bringing your videos together and eliminating the gaps that can create a black screen in the final cut of your movie by automating this process.
In addition, Auto Ripple enables you to switch places of two video clips in the same video track by dragging one clip over the other and aligning their starting points. Filmora9 will swap two clips automatically as soon as you release the left mouse button.
If you delete a video clip from the timeline while the Auto Ripple is off, you will have to move the clips manually in order to remove any empty spaces between them.
Changing the order of the video clips with Auto Ripple
Dragging and dropping a video clip over a part of a second video clip will create an automatic cut. The first clip will split and all of its segments after the cut will be placed behind the second clip.
Performing the same action with the Auto Ripple off will overwrite the segment of a video clip covered by a second clip and remove that segment from the timeline.
Insert Clips in Auto Ripple Mode
The Auto Ripple also makes the process of inserting a new clip between two video clips that are already on the timeline much faster. You simply have to drag a video clip from the Media tab over to the location on the timeline where it should be placed. A green box that shows the amount of space a new media asset is going to occupy will appear on the screen and you just have to drop the clip in order to add it between two clips.
Dragging one of the clip’s edges, while the Auto Ripple is enabled, will reduce the duration of that particular clip while preserving the duration of all other clips that are affected by the change you made. Keep in mind that all tracks on Filmora9’s timeline can be affected by Auto Ripple, so if you want to avoid moving a media asset accidentally you should simply lock the track on which that asset is located. That way, only unlocked tracks are going to be affected by the Auto Ripple option. This can be useful if you want media assets one track to remain at the same position and only move the video or audio files you placed on another track on the timeline.
